Sewing Patterns For Reusable Cloth Grocery Bags
Are you tired of using flimsy plastic bags every time you go grocery shopping? Not only are they eco-unfriendly, but they can also break at any moment and leave you with a messy situation. The good news is that you can make your own reusable grocery bags, and we have just the perfect sewing pattern for you!
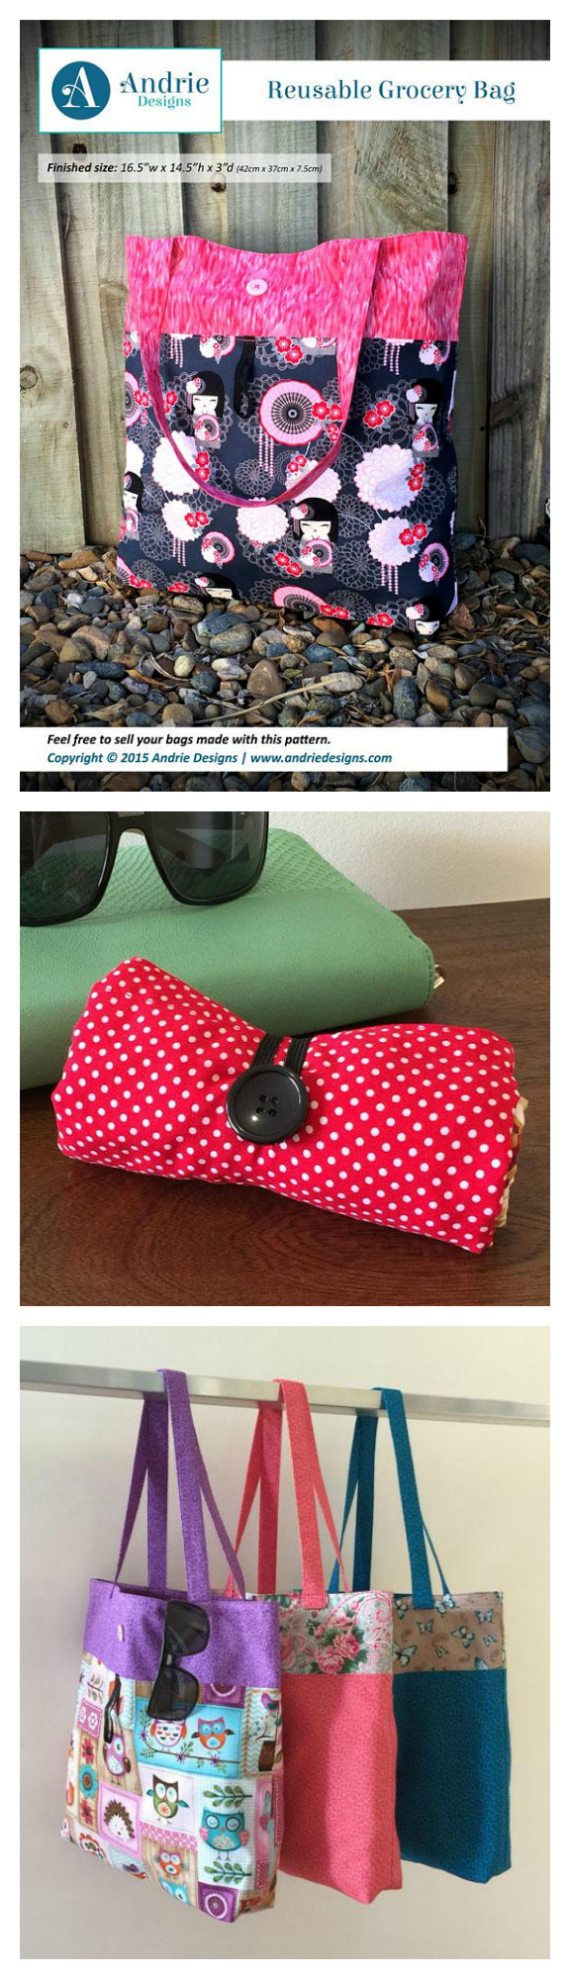
The reusable grocery bag sewing pattern we are going to introduce is versatile, easy to follow, and customizable to your liking. Whether you are a seasoned sewer or a beginner, this pattern is perfect for you! Follow our step-by-step guide below and make your very own reusable grocery bag in no time.
How to make a reusable grocery bag
This pattern requires medium-weight cotton fabric, a sewing machine, coordinating thread, and basic sewing tools such as scissors, pins, and tape measure. Make sure your fabric is prewashed and preshrunk before starting your project.
Step 1: Cut the fabric
Using our reusable grocery bag pattern, cut two pieces of fabric for the bag part, two pieces of fabric for the handles, and two pieces of fusible interfacing for the bag part. The pattern includes three different sizes, small, medium, and large, so choose the size that works best for your needs.
For the bag part, place the pattern pieces on the fabric, pin them in place, and cut along the edges. For the handles, cut two pieces of fabric and two pieces of fusible interfacing following the pattern pieces.
Step 2: Apply the fusible interfacing
Using an iron, apply the fusible interfacing to the wrong side of each bag part. This will give your bag extra stability and make it last longer.
Step 3: Sew the handles
Take the handle pieces and place them right sides together, sandwiching the fusible interfacing in between. Sew along the long edges and one short edge, leaving one short edge open. Turn the handles right side out and press them flat with an iron.
Step 4: Sew the bag part
Place the two bag pieces right sides together and sew the side and bottom edges. Repeat for the other two bag pieces. Press the seams open.
Step 5: Box the corners
To create a flat bottom for your bag, pinch the corners where the side seam and bottom seam meet, and align them. Measure 1.5 inches from the tip and draw a line across the corner. Sew along the line and trim the excess fabric. Repeat for the other three corners.
Step 6: Sew the handles to the bag
Take the two handles and place them on the front and back of the bag, equidistant from the side seams. Pin them in place, making sure they are not twisted. Sew along the top edge of the bag to secure the handles in place.
Step 7: Finish the bag
Taking the two bag parts right sides together, pin them together along the top edge, sandwiching the handles in between. Sew along the top edge, leaving a 3-4 inch opening for turning. Turn the bag right side out and press it flat with an iron. Sew the opening shut by hand.
Tips & Tricks
- Use contrasting fabric for the handles and bag to create a unique look.
- Personalize your bag by adding pockets, embellishments or embroidery.
- Use a sturdy thread and a tighter stitch length for extra strength.
- Experiment with different fabrics such as canvas, denim, or upholstery fabric for a more durable bag.
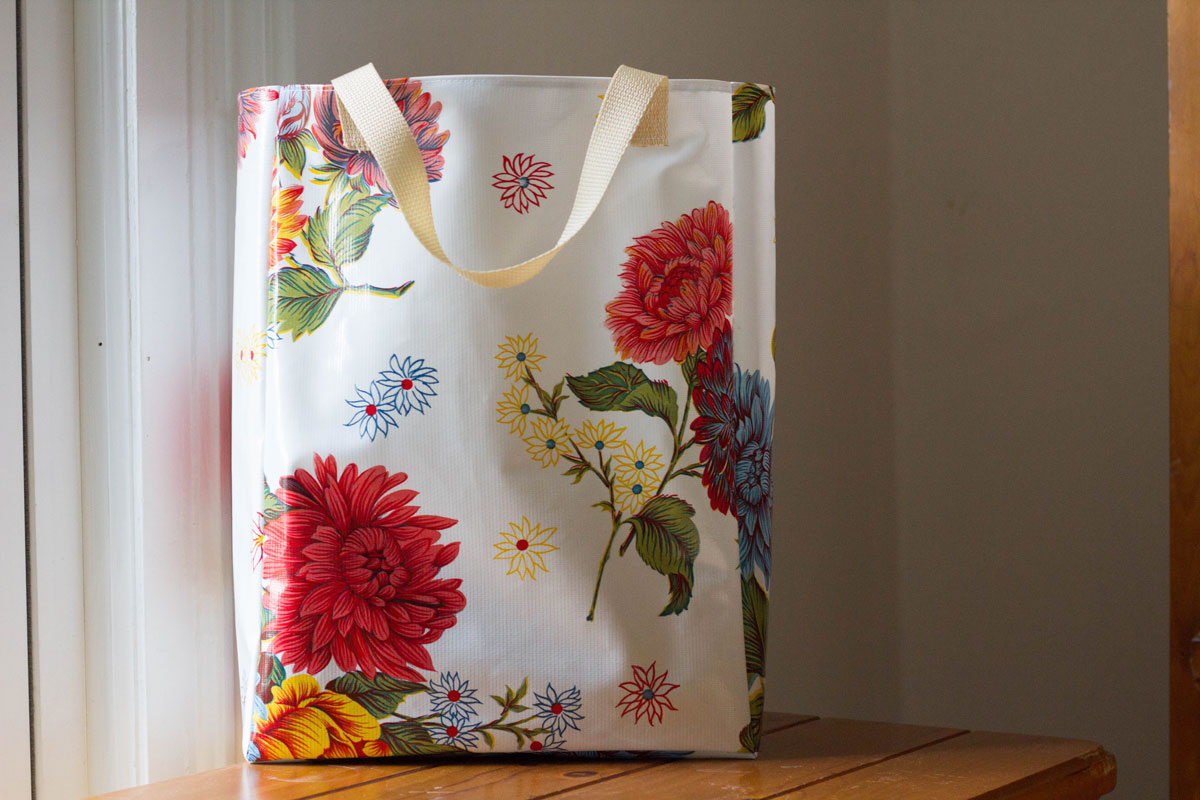
Congratulations! You have now made a reusable grocery bag that is not only functional but also stylish. Take it with you on your next shopping trip and enjoy a guilt-free experience. Happy sewing!

/GroceryBag1-5a47f57ebeba330037d85fb2.jpg)

Post a Comment for "Sewing Patterns For Reusable Cloth Grocery Bags"