Childrens Raincoat Sewing Pattern
Oh, honey child! I just found the cutest sewing pattern for toddler raincoats. You know our little ones need to be prepared for any weather, and this pattern from Connecting Threads is just perfect.

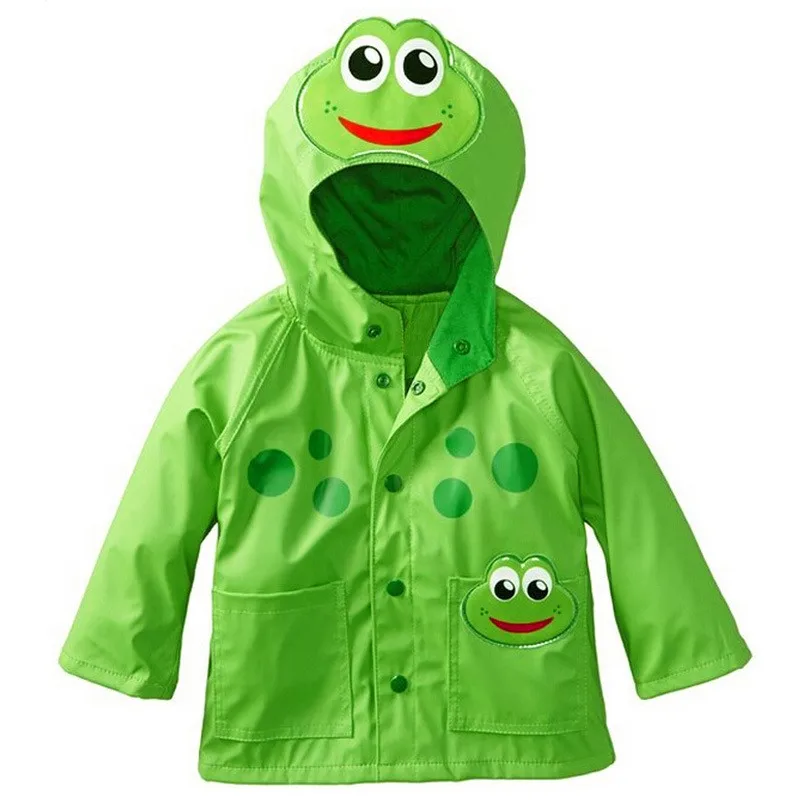
This pattern is downright adorable. It has a classic raincoat shape, complete with a hood and pockets, but with a fun twist. You can choose to make it in bright, bold colors or soft pastels. Either way, your little one is sure to stand out from the crowd.
Description:
The pattern is for a toddler raincoat, so it is sized to fit children between the ages of 2 and 4. It has a button-up front, so it is easy to put on and take off. The hood is roomy enough to accommodate a hat, but still provides good coverage for the face and neck.
The pockets are perfect for storing small treasures, like rocks or seashells. And the long sleeves and hem ensure that your little one stays dry even in the heaviest downpour.
Materials:
To make this raincoat, you will need:
- 1 1/2 yards of raincoat fabric
- 1 yard of lining fabric
- 1/2 yard of fusible interfacing
- 6 buttons
- Thread
- Sewing machine
- Scissors
- Pins
You can find all of these materials at your local fabric store or online. Just make sure to choose a raincoat fabric that is waterproof and lightweight, like nylon or polyester. And be sure to pre-wash and dry your fabric before you start sewing, so that it doesn't shrink or fade later on.
Pattern Sizes:
The pattern comes in sizes 2T, 3T, and 4T. You can choose the size that best fits your child based on their chest, waist, and hip measurements.
Here are the size charts:
| Size | Chest | Waist | Hips |
| 2T | 21" | 20" | 22" |
| 3T | 22" | 20.5" | 23" |
| 4T | 23" | 21" | 24" |
Keep in mind that the raincoat should fit loosely over clothing, so you may want to choose a size up if your child is between sizes or if you want to layer underneath.
How to:
Now that you have all of your materials and your pattern, it's time to start sewing!
First, cut out your fabric pieces according to the pattern instructions. Be sure to transfer any markings, like the buttonhole positions, to the fabric before you start sewing.
Next, sew the shoulder seams and side seams of the raincoat front and back. Then, attach the front and back at the shoulder seams and sew the sleeves to the armholes.
Attach the fusible interfacing to the front facings and hem facings, then sew the facings to the front and hem of the raincoat.
Sew on the buttons and buttonholes, then hem the sleeves and bottom of the raincoat.
Finally, sew on the hood and pockets, and your raincoat is complete!
Overall, this is a relatively easy pattern to sew. It should take you a few hours to complete, depending on your sewing experience.
So what are you waiting for? Head to your local fabric store or grab your laptop and get started on this adorable toddler raincoat! Your little one will thank you.

Post a Comment for "Childrens Raincoat Sewing Pattern"