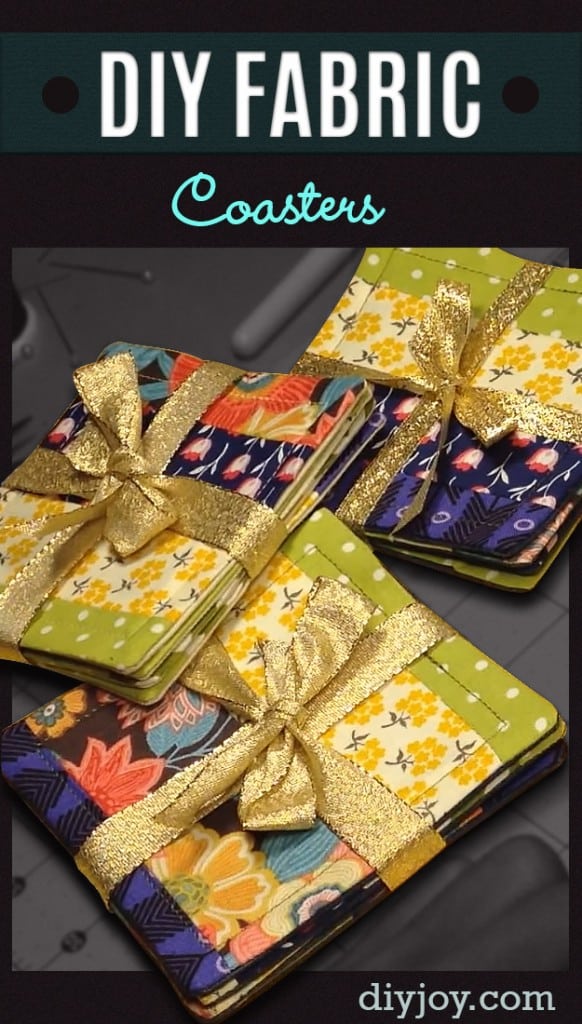
Sewing Patterns For DIY Fabric Coasters And Placemats
If you're a fan of DIY projects, you'll love learning how to create reversible fabric coasters. Not only are they incredibly easy to make, but they also provide a fun and useful addition to your home decor. Plus, they can be customized to match your existing style and color preferences.

How to Make Reversible Fabric Coasters
To get started on this project, you'll need a few basic materials:
- Fabric of your choice
- Thread
- Rotary cutter or scissors
- Cutting mat
- Iron and ironing board
- Sewing machine
Once you've gathered your supplies, follow these simple steps to create your own reversible fabric coasters:
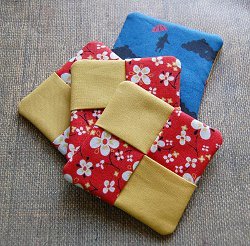
- Start by cutting two squares of fabric, each measuring 4 inches by 4 inches.
- Place the two squares of fabric together, with the right sides facing each other.
- Sew around the edges of the squares, leaving a small opening of approximately 1 inch along one of the sides. This will allow you to flip the coaster right side out when you're finished sewing.
- Trim the edges of your coaster, being careful not to cut through any of your stitches.
- Flip the coaster right side out through the small opening you left earlier.
- Press the coaster with an iron to smooth out any wrinkles and to give it a more polished look.
- Finally, sew the small opening shut using your sewing machine and you're done!
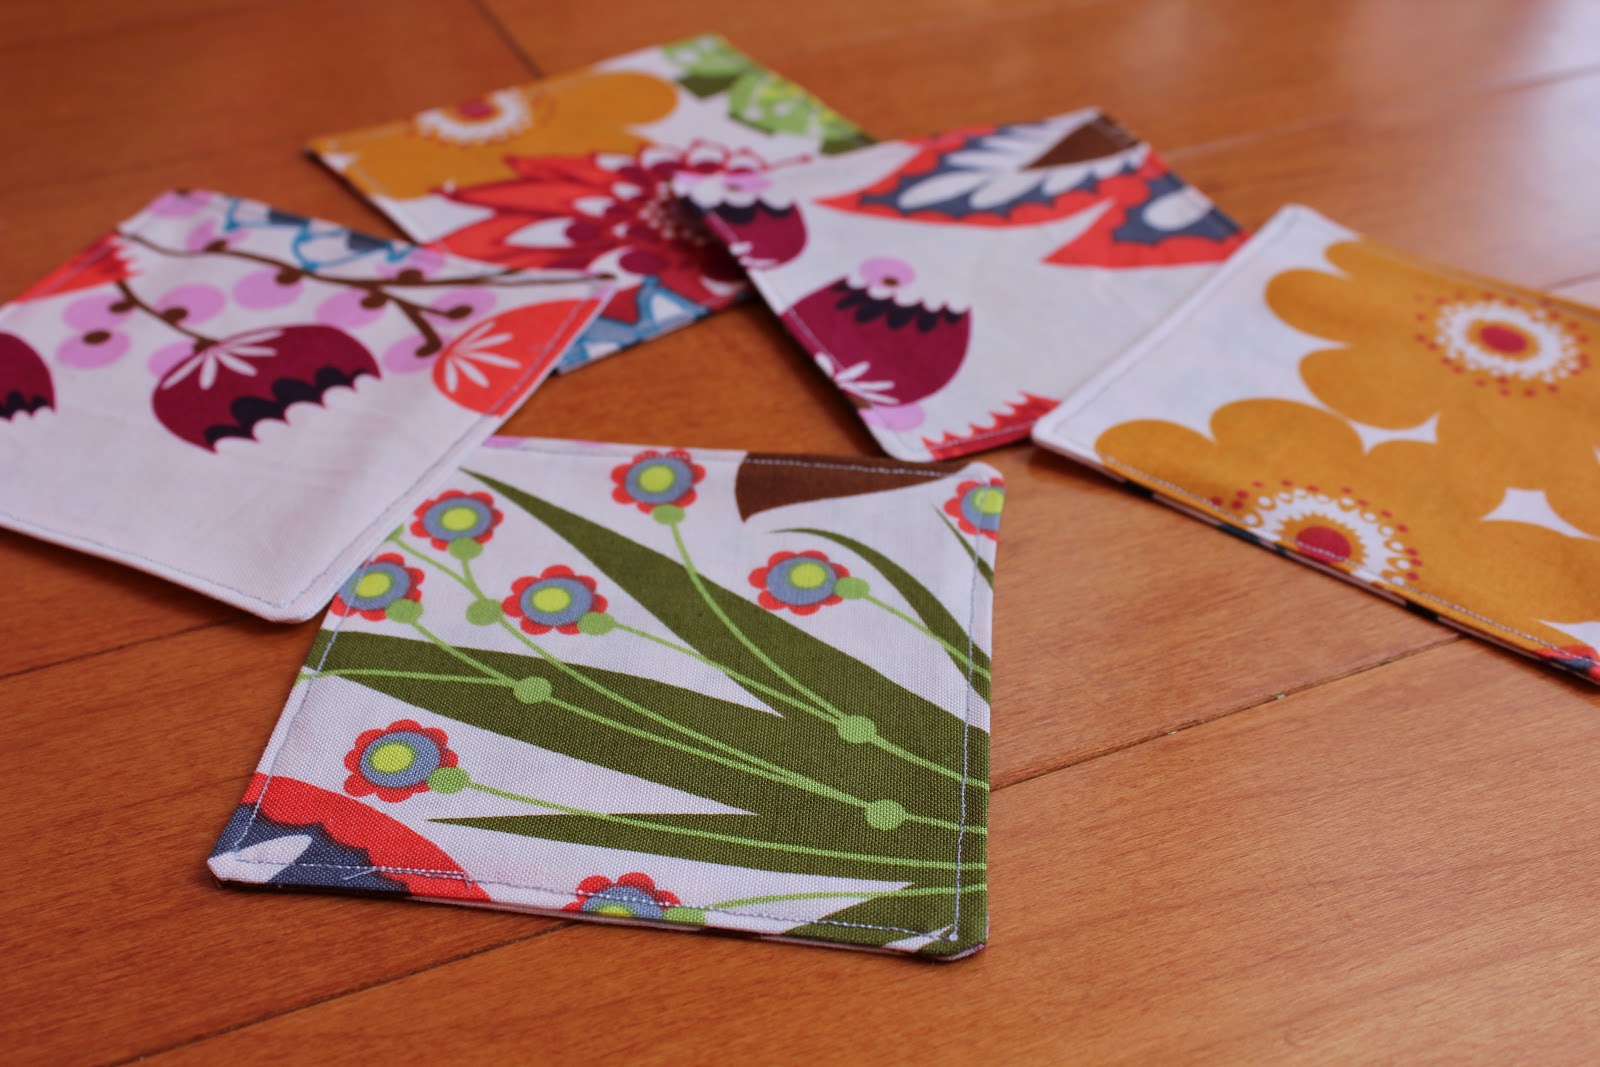
It really is that simple to create your own set of reversible fabric coasters. And, the best part is that you can customize them however you like.
Tips & Tricks for Reversible Fabric Coaster Success
While the process of creating reversible fabric coasters is straightforward, there are still a few tips and tricks that will help ensure success:
- Choose fabrics that have contrasting colors or patterns so that your coasters look great no matter which side is facing up.
- Be sure to press your fabric with an iron before beginning to make your coasters. This will help ensure straight seams and a more polished finished product.
- Use a coordinating thread color to sew your coasters together. This will help hide any imperfections in your stitching.
- If you're using a rotary cutter, be sure to use a cutting mat to protect your work surface and to ensure a straight cut.
- Consider using a decorative stitch or embroidery to add a personal touch to your coasters.
Now that you know how easy it is to create your own set of reversible fabric coasters, why not give it a try? Not only will you enjoy the satisfaction of creating something with your own two hands, but you'll also have a fun and useful addition to your home decor.

Post a Comment for "Sewing Patterns For DIY Fabric Coasters And Placemats"