Bum Bag Sewing Pattern
Ready to make your own trendy bum bag? We’ve got you covered! With our step-by-step tutorial, you’ll be able to create the perfect bum bag that’s both stylish and practical.

Description
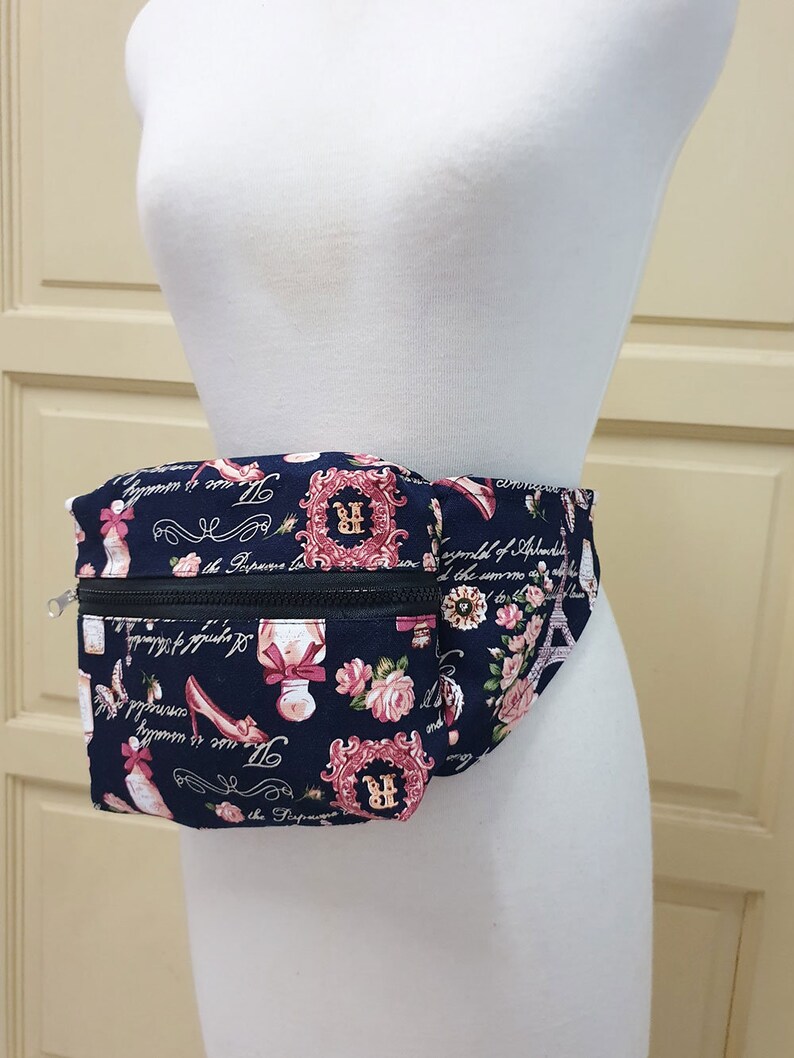
Bum bags, also known as fanny packs, haven’t always been the “it” accessory, but they've made a comeback in recent years. Practical for hands-free travel, festivals, and other events, bum bags are the perfect solution for safely storing your essentials without having to carry a bulky bag. By making your own, you get a customized bag that expresses your individual style, and at a much lower cost than purchasing one from a store.
Materials
- 1/2 yard of your favorite fabric
- 1/2 yard of lining fabric
- 1/4 yard of fusible interfacing
- 1 zipper (approximately 10.5 inches)
- Two D-rings
- One buckle
- Thread that matches your fabric
- Scissors
- Measuring tape or ruler
- Sewing machine
Pattern Sizes
This tutorial is for a standard-sized bum bag that measures approximately 12 x 6 inches with a 1-inch gusset. However, you can adjust the size to your liking based on how much you want to carry.
How to
- Start by cutting out your fabric pieces. You’ll need one outer fabric piece, one lining piece, and one fusible interfacing piece. Cut each of these pieces to measure 13 x 7 inches.
- With the outer fabric right side up, fold down one of the longer edges by 1/2 inch and press. Repeat with the lining fabric piece.
- Place the outer fabric and lining pieces right sides together, aligning the folded edges. Pin the two pieces together along the folded edge.
- Sew these two pieces together along the folded edge with a 1/4 inch seam allowance. Flip the lining piece up and press the seam down towards the lining fabric.
- Now it’s time to add the zipper. Lay your outer fabric piece right side up, and place the zipper face down on top of this piece, aligning the top edge of the zipper with the raw edge of the outer fabric. Pin the zipper tape in place.
- Place the lining piece right side down on top of the zipper tape sandwiching the zipper. Pin the three pieces together along the top edge.
- Using a zipper foot, sew along the pinned edge. Flip the layers right side out and press the fabric away from the zipper.
- Repeat the same process for the other side of the zipper, sewing the other side of the outer fabric and lining fabric to the other side of the zipper tape.
- Your zipper is now sewn in place! Next, fold the two pieces of fabric with the right sides together.
- Sew along both sides and across the bottom of the piece with a 1/2 inch seam allowance. Leave a 3-inch gap on the bottom of the lining to allow you to turn the bag right side out.
- Now we’re going to create a gusset on the bottom of the bag to give it some depth. Pinch the corners of the bag, matching the side seam with the bottom seam.
- Measure 1 inch from the corner point and draw a line perpendicular to the seam. Sew along this line and cut off the excess fabric.
- Repeat this step on the other corner, as well as on the lining.
- Now comes the hardware! Thread the D-rings onto a 1-inch strip of fabric, and attach this to one side of the bag using a box stitch.
- Loop the buckle onto another 1-inch strip of fabric, and attach it to the other side of the bag.
- Lastly, turn the bag right side out through the gap in the lining. Sew the gap closed by hand, and you’re finished!
Now that you’ve completed your own DIY bum bag, you’re ready to show it off at your next festival, concert or on your daily errands. Not only did you save money by making it yourself, but you also get to flaunt your design that's unique and functional. Happy crafting!

Post a Comment for "Bum Bag Sewing Pattern"