How To Create Your Own Sewing Patterns For Fabric Bookmarks With Tassels
Hello y'all!

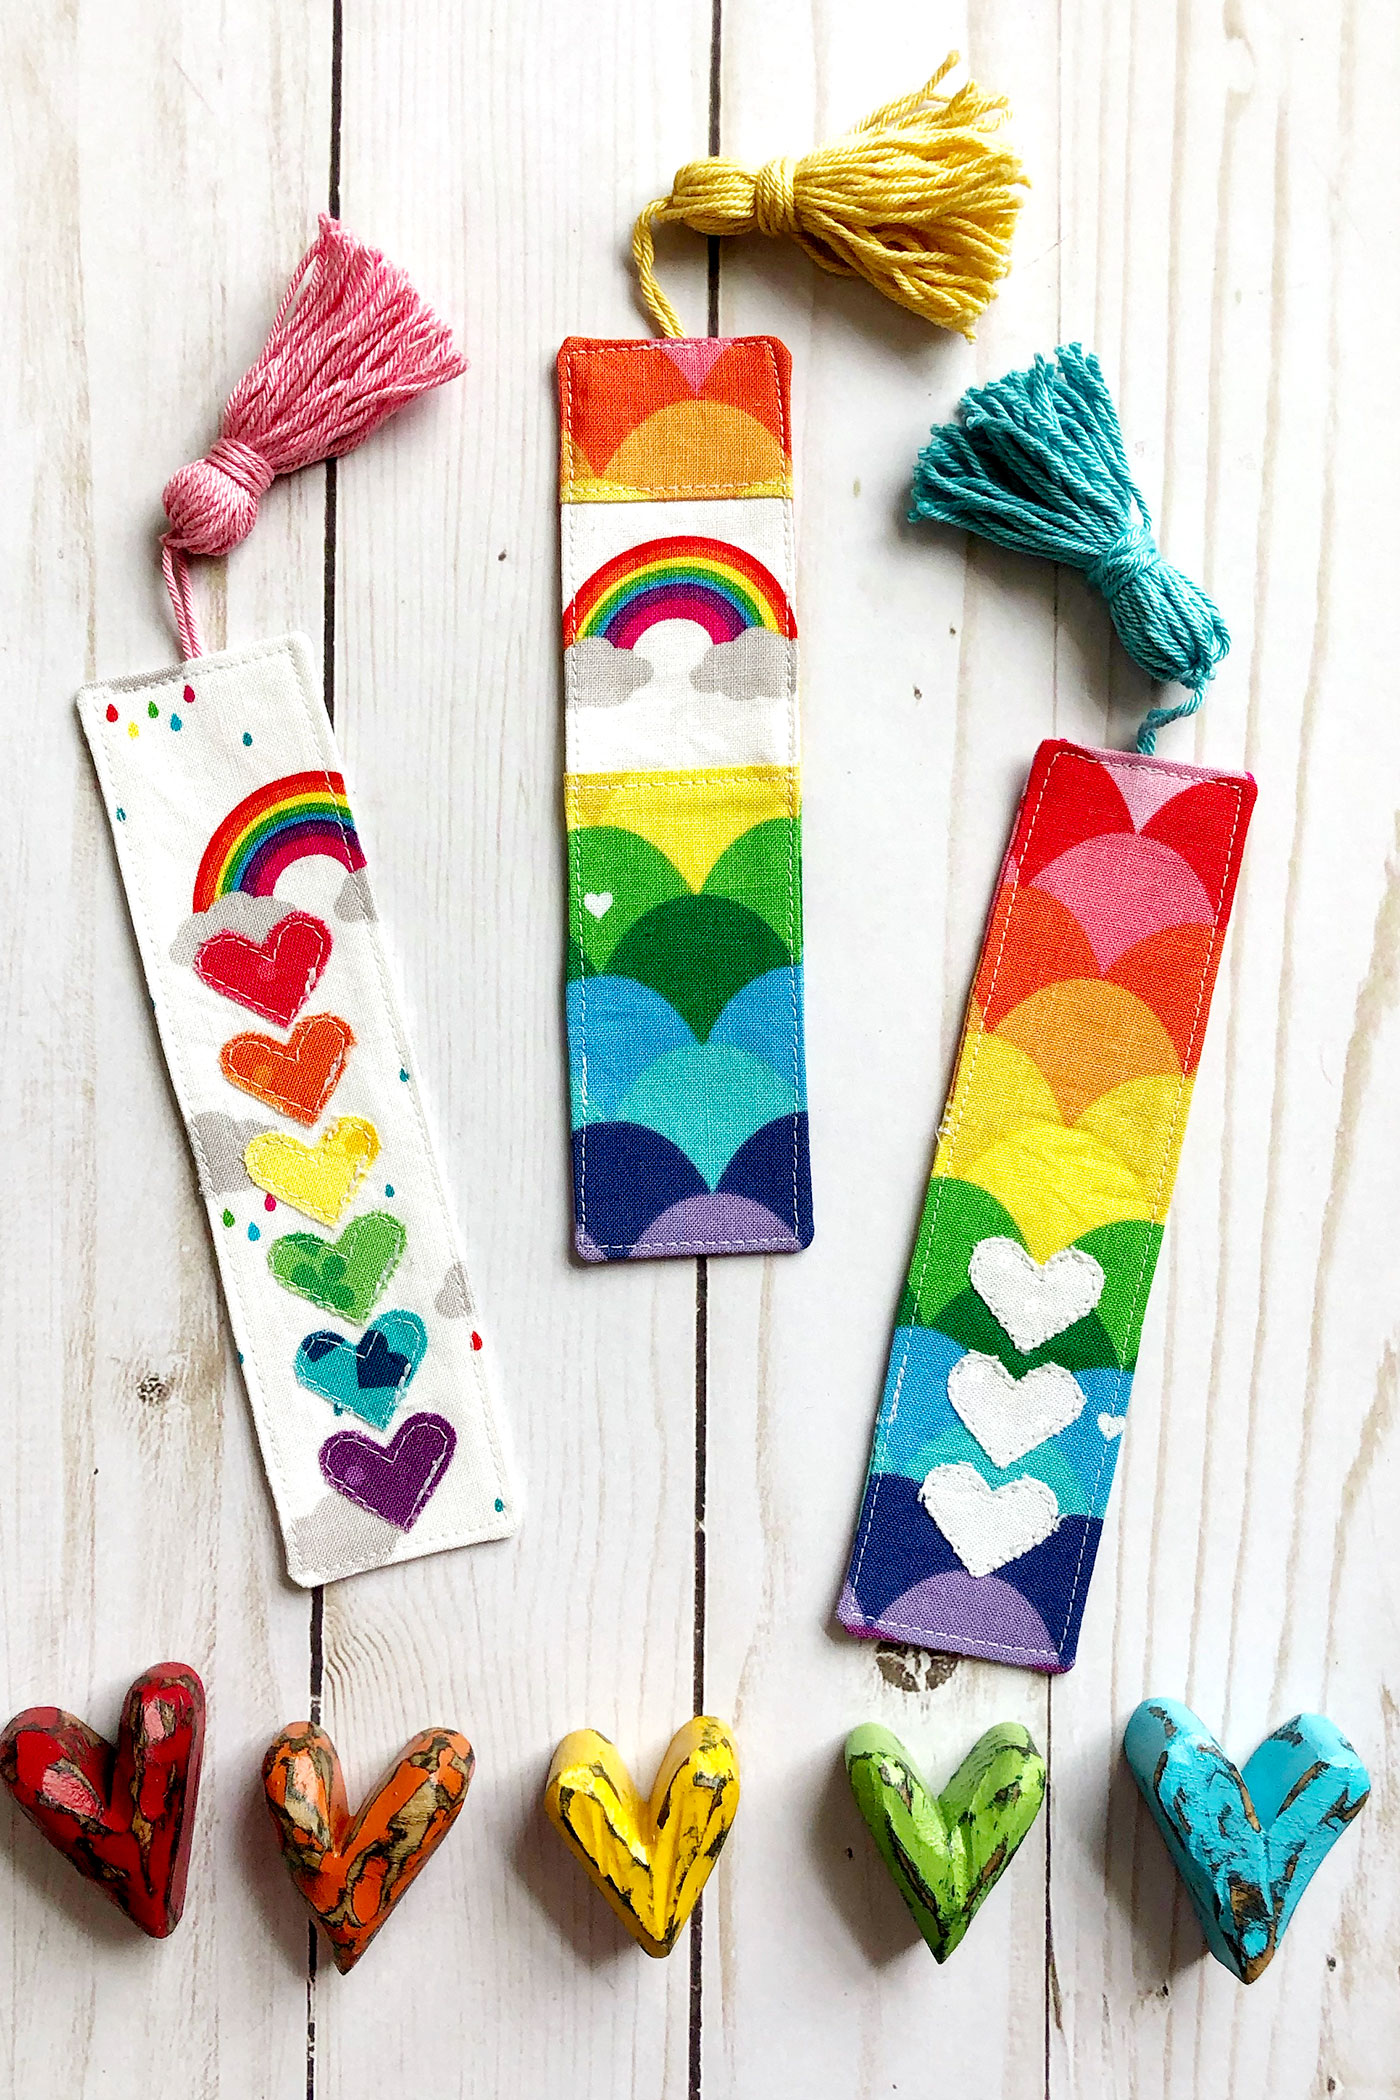
I hope y'all are doing well today. I want to share with y'all a quick and easy sewing pattern to create some beautiful fabric bookmarks! I found this pattern on Etsy and it has been a game changer for me. No more folding over corners and losing my page in my favorite book.
How To
Here's what you'll need:
- Fabric of your choice
- Sewing Machine or Needle and Thread
- Scissors
- Iron
- Fabric Pen or Pencil
- Ruler or Measuring Tape
Step 1: Cut a piece of fabric to size for your bookmark. I like to cut mine to 2 1/2 inches by 8 inches, but you can adjust the size to your liking.
Step 2: Fold the fabric in half, right sides together, with the shorter ends together. Use your iron to press the fold down.
Step 3: Use your fabric pen or pencil to mark a line from the bottom corner to the top of the fold, about a 1/4 inch from the fold. This will create a diagonal line at the top of the bookmark.
Step 4: Sew along the diagonal line you created in step 3, making sure to back stitch at the beginning and end to secure the stitch.
Step 5: Cut off the excess fabric about 1/4 inch away from the stitch line.
Step 6: Use your iron to press the bookmark, making sure to press the seam so it lays flat.
Step 7: Optional - you can add a piece of interfacing to the back of the fabric to give the bookmark more stability.
And that's all folks - a quick and easy fabric bookmark!
Tips & Tricks
Here are some tips to help you make the perfect bookmark:
- Choose a fabric that is sturdy, but not too thick. You want your bookmark to have some flexibility, but not be flimsy.
- Use a contrasting fabric for the diagonal line to add some visual interest.
- Experiment with different sizes and shapes to create a variety of bookmarks.
Thanks for reading y'all, happy sewing!


Post a Comment for "How To Create Your Own Sewing Patterns For Fabric Bookmarks With Tassels"