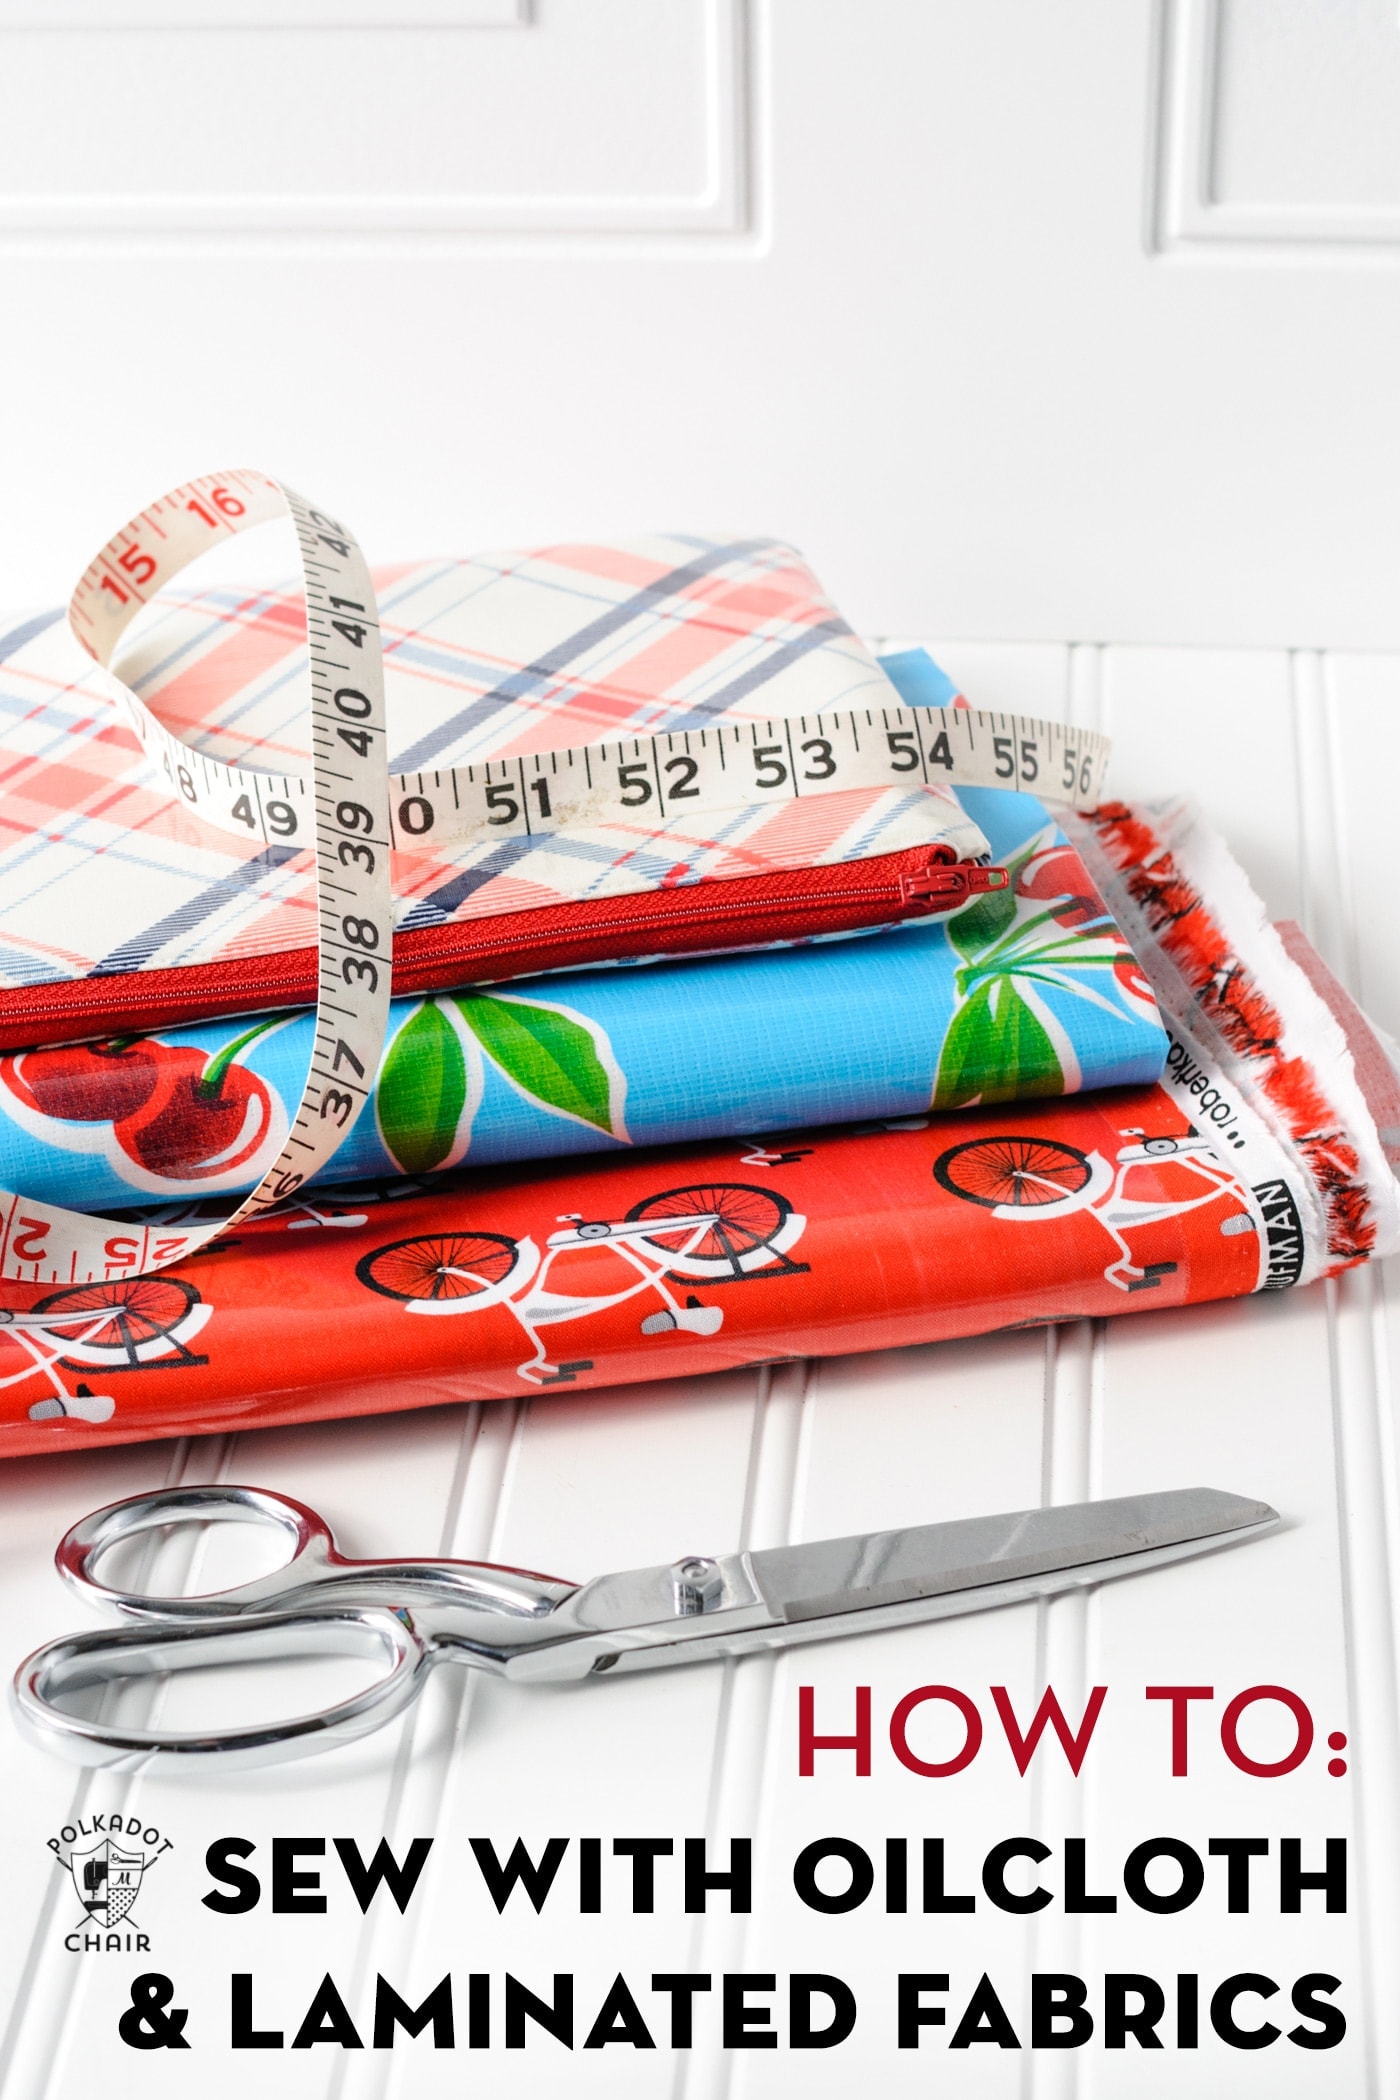
How To Sew With Oilcloth Using Patterns
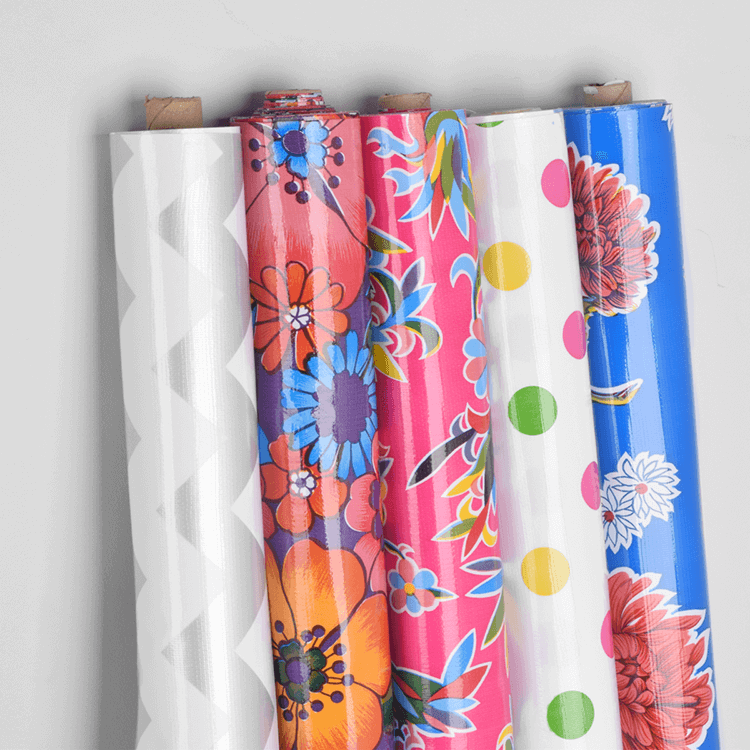
Are you ready to learn how to sew with oilcloth fabric? This is a great skill to have, especially if you love creating practical and durable items such as tote bags, tablecloths, and raincoats. Oilcloth fabric is water-resistant, easy to clean, and comes in a wide range of colorful and playful patterns. You just need to know a few tips and tricks to get started.

How to sew oilcloth fabric
The first thing to keep in mind is that oilcloth fabric is stiffer and thicker than other fabrics, such as cotton or polyester. This means that your sewing machine might struggle with it unless you use the right tools and techniques.
Here are the steps:
- Cut the oilcloth fabric to the desired size and shape, using a rotary cutter or sharp scissors. Oilcloth fabric can be a bit slippery, so hold it firmly while cutting.
- Use a non-stick presser foot on your sewing machine to help the fabric slide smoothly. You can also use a Teflon-coated needle or apply a small amount of baby powder or cornstarch to the needle to prevent sticking.
- Use a longer stitch length than usual, such as 3.5 to 4 mm, to avoid perforating the fabric too much. You can also use a walking foot or a roller foot to help feed the fabric evenly through the machine.
- Use clips or clothespins to hold the fabric together instead of pins, which can leave permanent holes in the oilcloth. Alternatively, use a glue stick or double-sided tape to hold the seams in place before sewing them.
- When sewing the seams, use a slightly looser tension than usual, as tight stitches can cause the fabric to pucker or warp. Sew slowly and steadily, keeping an eye on the alignment and tension of the fabric.
- Trim the excess fabric close to the seam, but not too close, as the fabric can ravel or fray over time.
- If necessary, use a hair dryer or a warm iron (on the wrong side) to help flatten any wrinkles or creases in the fabric. Do not use a hot iron, as it can melt the plastic coating of the oilcloth.
Tips & Tricks
Now that you know the basics, here are some extra tips and tricks to make your oilcloth sewing experience even smoother:
- Choose the right needle: a size 14 or 16 needle works best for oilcloth fabric, as it is strong enough to penetrate the thickness without breaking or bending.
- Mark the fabric with a chalk or a removable pen that won't bleed or stain the oilcloth. Avoid using regular markers or pens, which can leave permanent marks.
- If you want to sew a curved or intricate shape, you can use a freezer paper template that sticks to the fabric and can be easily removed after sewing.
- If you need to join two pieces of oilcloth together, use a double-sided adhesive tape or a fusible webbing. This will create a strong and waterproof bond that won't come apart easily.
- Clean your sewing machine regularly, especially the feed dogs and the bobbin case, as oilcloth fabric can leave residue and clog the machine over time. Use a soft brush or a lint roller to remove any debris.
- If you want to create a more flexible or softer feel to the oilcloth, you can heat it up with a hair dryer or a heat gun (on a low setting), and then quickly cool it down with a cold, wet cloth. This will help soften the plastic coating without melting it.
- Experiment with different stitches and thread colors to add a decorative touch to your projects. You can use a contrasting thread color or a zigzag stitch to create a fun and playful look.
Now you have everything you need to start sewing with oilcloth fabric. Remember to take your time, be patient, and have fun. With a little practice, you can create beautiful and practical items that will last for years to come.


Post a Comment for "How To Sew With Oilcloth Using Patterns"