How To Create Your Own Sewing Patterns For Fabric Headbands
Who says that you have to spend a fortune to look like a million bucks? Nobody, that's who! And here's a little secret: you don't even have to be a master seamstress to create cool accessories that will make heads turn. Take these reversible fabric headbands, for example. They're easy to make, super versatile, and – best of all – won't break the bank. Follow our simple tutorial and make some for yourself or gift them to your friends, family, or random strangers. (Hey, making people happy is fun!)
How to Make Reversible Fabric Headbands
Ready to get crafty and stylish? Good, because here's what you need:
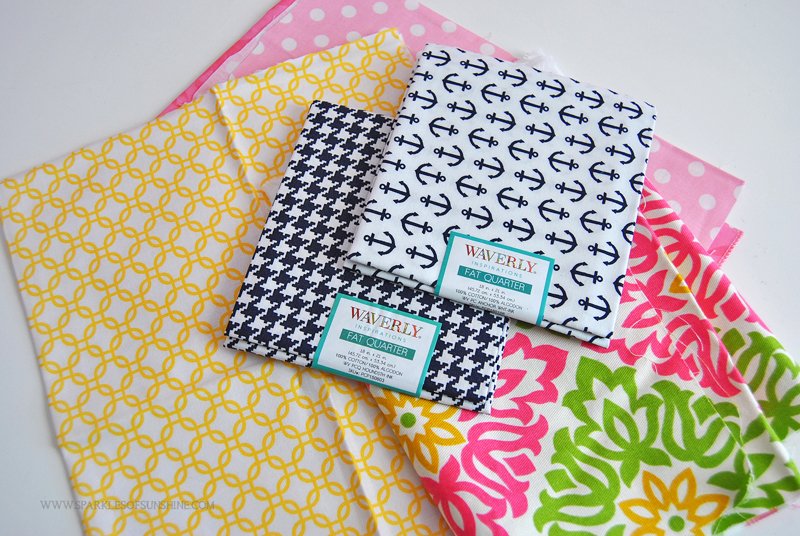
- Fabric of your choice (you can mix and match different prints/textures to create contrast)
- Thread
- Elastic (about 0.5-0.75 inch depending on the size of your head)
- Sewing machine or needle
- Scissors
- Pins
- Iron
Got everything? Alright, let's get started:
- Wash and dry your fabric to prevent shrinkage later on.
- Cut two pieces of fabric with same size and shape (you can use an existing headband as a template if you have one).
- Place the fabric pieces right sides together and pin them around, leaving a small gap open for turning.
- Use a sewing machine or needle and thread to sew the pinned edges together, leaving the gap open.
- Trim excess fabric and corners, and snip the curves carefully so they can lay flat when you turn the headband inside out.
- Turn the headband inside out by pulling it through the gap, and use a pointed object (like a knitting needle or chopstick) to push out the corners and curves gently.
- Iron the headband flat and sew the gap closed (either by hand or machine).
- Cut a piece of elastic that fits comfortably around your head (remember to take into account how tight or loose you want the headband to be).
- Get the headband and the elastic ready, and fold the headband in half (right side out).
- Insert the elastic through the headband, making sure that the ends of the elastic and the headband meet each other and are aligned.
- Pin the elastic to the headband securely, preferably with several stitches to ensure that it won't come off or loosen over time.
- Cut any excess elastic, and voilà! You've just made your own reversible fabric headband!
Not so hard, is it? Now, you can experiment with different fabrics, colors, and patterns to create headbands that match your outfit, mood or occasion. Plus, you can always adjust the size and shape of the headband to fit your head perfectly or make it wider/narrower for a fun twist.
Tips & Tricks for Making Reversible Fabric Headbands
Before you jump headfirst (pun intended) into making tons of headbands, here are some pro tips and tricks to keep in mind:
- Use lightweight fabric for a more comfortable and breathable headband, especially during hot weather.
- Choose fabrics with similar weight and texture for better symmetry and balance.
- Try different widths of elastic to see which one works best for you (and your hair type).
- If you don't have elastic, you can use a piece of ribbon or fabric instead.
- Test the fit of the headband before sewing the elastic to make sure it's not too loose or tight.
- Embellish your headband with beads, sequins, or appliques for extra glam.
- Make a matching reversible fabric scrunchie or hair bow for a complete set.
Now, you're all set to become a headband-making pro. Remember, the sky's the limit when it comes to creativity and personal style. Who knows, you might even make some reversible fabric headbands that become a hit among your circle of friends or social media followers. Don't forget to share your creations and tag us – we'd love to see what you come up with! Happy crafting!


Post a Comment for "How To Create Your Own Sewing Patterns For Fabric Headbands"